
Anatomy of a Windshield Replacement - Step by Step

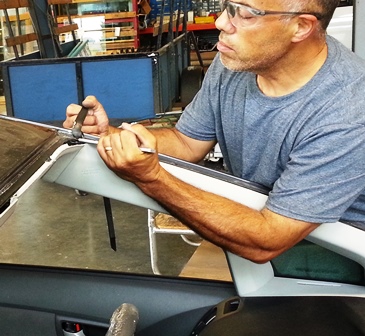
Removal of the cowl.
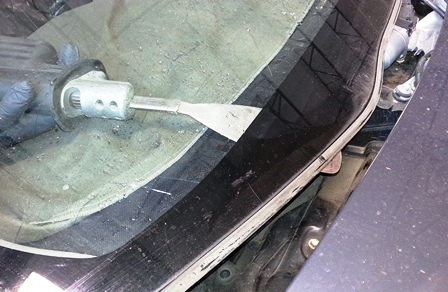
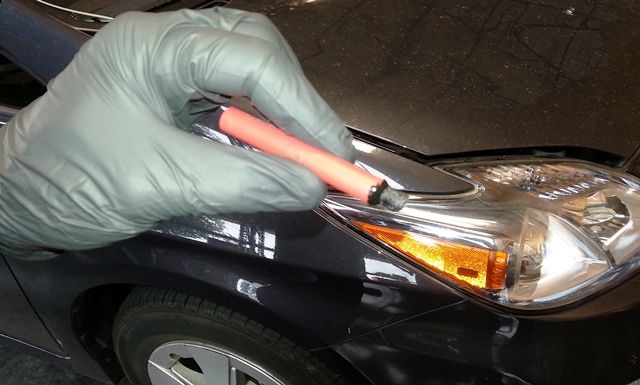
Technician using cold knife to start cutting perimeter bead from exterior.

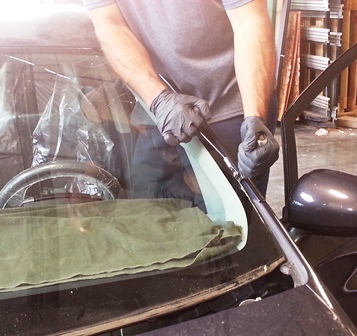
Extractor is used to cut the urethane bead from the interior to allow removal of windshield.
Windshield removal
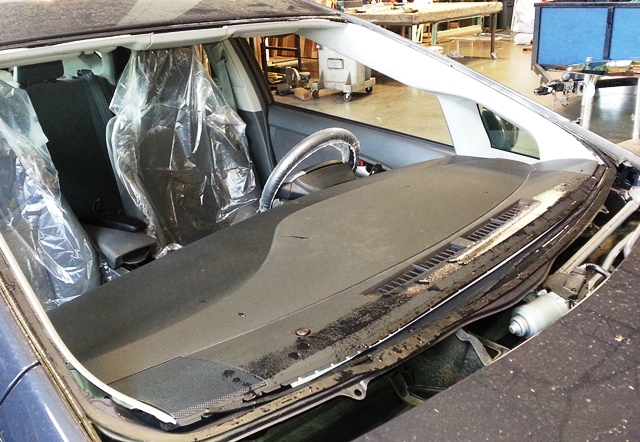
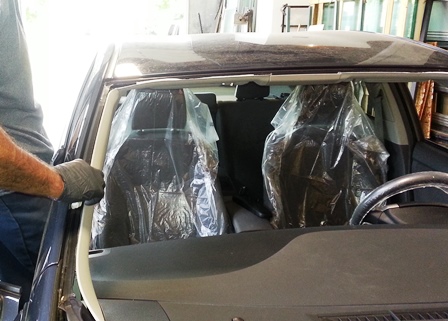
Pinch weld is now exposed and ready to prepare.
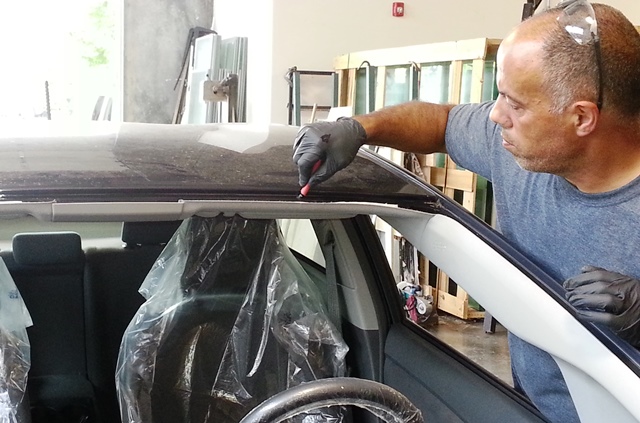
Trimming the existing bead of urethane down to a height of about 1 to 2 millimeters.

Sika Activator Pro use to clean substrate.
Pinchweld primer
Apply a thin coat of primer, allowing at least ten minutes to dry.
Cleaning existing urethane bead to remove contaminants.
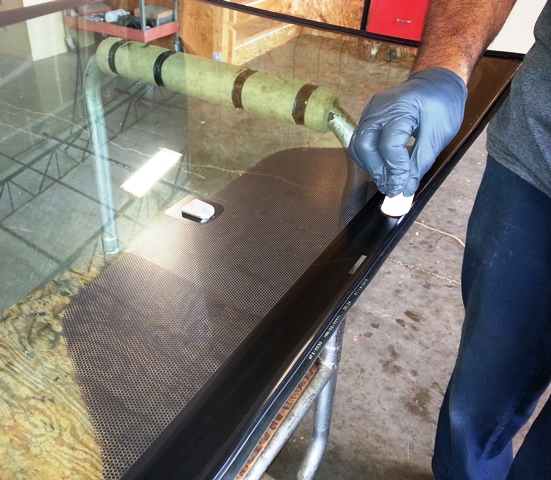
Appling glass primer
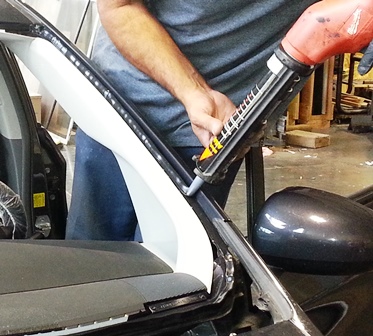
Bonding molding to the glass.
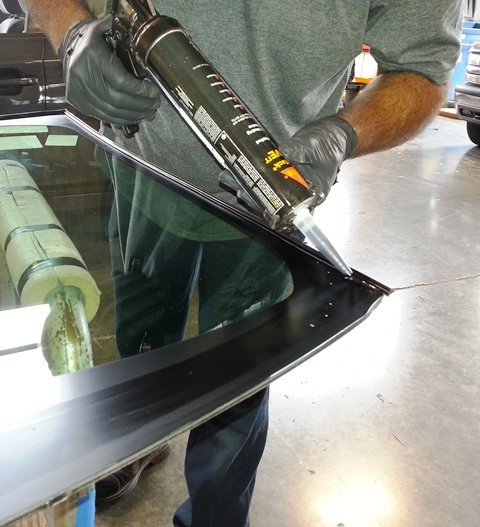
Appling urethane with a V notched nozzle with a depth the same as the height between the pinchweld and the roof of the car to assure the correct amount of urethane.
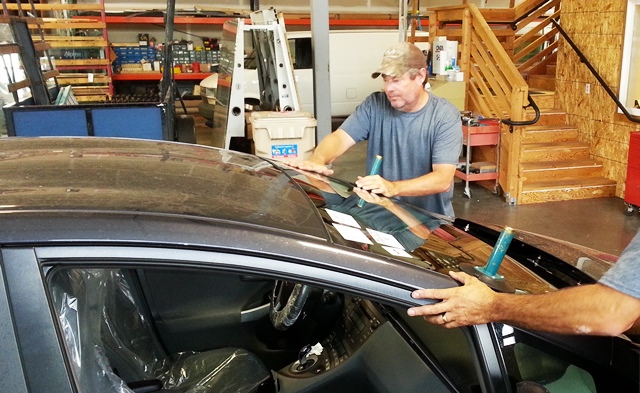
Windshield placed in opening taking care for proper spacing.
Adjusting glass height in pinchweld.
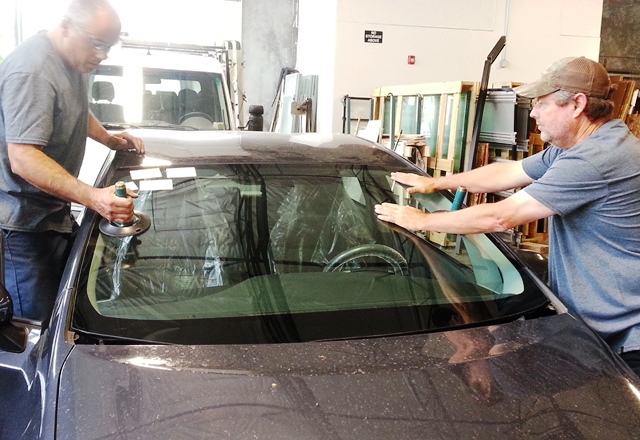
Final interior and exterior washing of the glass is completed. Wiper arms and cowl are reinstalled and vehicle is ready to be released to customer when safe drive away time (SDAT) is reached.